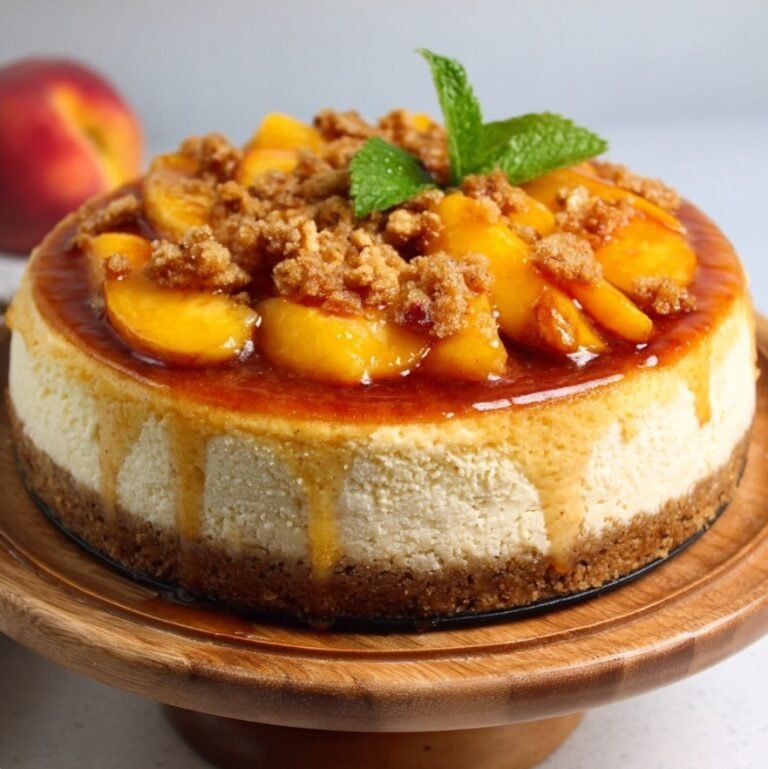
Homemade Boston Cream Poke Cake Recipe
Homemade Boston Cream Poke Cake Recipe

My Homemade Boston Cream Poke Cake Discovery Story
If you’d told me a year ago that I’d be obsessed with a Boston cream poke cake, I would’ve been skeptical. I’ve always loved the classic Boston cream pie — layers of sponge cake, custard filling, and chocolate glaze. But the idea of “poking holes in a cake” seemed… odd. Wouldn’t it make the cake soggy? But let me tell you, something magical happened when I finally tried it.
It all started when my cousin brought one to a family gathering. She set down this unassuming cake, covered in glossy chocolate, and when we sliced into it, golden custard oozed out of little tunnels inside the cake. One bite, and I was hooked: fluffy cake, creamy filling, and rich chocolate topping — all in perfect harmony. My husband went back for seconds, my kids licked their forks clean, and I knew I had to make it myself.
I remembered my grandmother’s words: “Don’t judge a recipe until you’ve tasted it.” She never used recipe cards — just her eyes, her hands, and her love for feeding family. So I stood in my kitchen, poked holes into a warm vanilla cake with the end of a wooden spoon, and poured custard into every crevice. When I chilled it and topped it with chocolate ganache, it transformed into a dessert that tasted like bakery magic — but made right at home.
Welcome to DianaRecipes.com, where I share the recipes that surprise, delight, and transform ordinary moments into celebrations. This poke cake isn’t just a dessert — it’s an experience.
What Makes This Cake So Special
Here’s what you’ll need for this dreamy Boston cream poke cake:
The Cake Base:
- 1 box yellow or vanilla cake mix (plus ingredients on the box: eggs, oil, water) – Quick and reliable. I’ve made it from scratch too, but the mix saves time.
- Personal Story: I once tried chocolate cake mix instead — delicious, but it wasn’t Boston cream anymore. Lesson learned.
The Creamy Filling:
- 2 boxes instant vanilla pudding mix (3.4 oz each)
- 4 cups milk
- 1 tsp vanilla extract (optional, but deepens flavor)
The Chocolate Glaze:
- 1 ½ cups semi-sweet chocolate chips
- 1 cup heavy cream
- Pinch of salt
Substitutions I’ve Actually Tested:
- Instead of instant pudding: I made homemade pastry cream once — absolutely divine, but more time-consuming.
- Instead of heavy cream: I used evaporated milk for the ganache once. Not as rich, but still worked.
- Gluten-free cake mix: My neighbor loved it — said it was just as fluffy!
Time Investment That’s Actually Worth It
Let’s be honest about the time commitment:
- Prep Time: 20 minutes
- Bake Time: 30 minutes
- Chill Time: 2 hours (for custard to set)
- Total Time: About 3 hours (mostly hands-off)
Here’s the thing — yes, it takes chilling time, but the hands-on work is simple. And the payoff? A bakery-worthy dessert that everyone devours.
My Time-Saving Trick: I bake the cake the night before, poke holes, and pour in the pudding. The next day, I just top it with ganache. No last-minute stress.
Step-by-Step Instructions
Step 1: Bake the Cake
Prepare yellow cake mix according to package directions. Bake in a 9×13-inch pan until golden.
Diana’s Tip: Don’t overbake. A moist cake holds the pudding better.
What to Watch For: A toothpick should come out clean — not dry.
Step 2: Poke the Holes
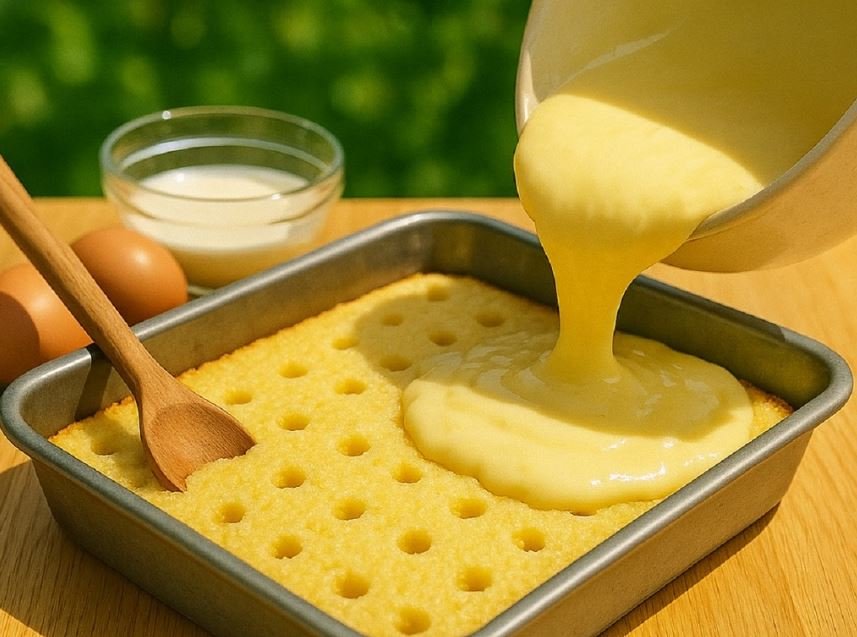
While the cake is still warm, use the handle of a wooden spoon to poke holes all over.
Diana’s Tip: Don’t poke all the way through. Go about ¾ deep — enough to hold the pudding.
What to Watch For: Space holes evenly so every bite has custard.
Step 3: Make the Pudding Filling
Whisk pudding mixes with milk and vanilla until smooth. Pour immediately over the cake, spreading with a spatula.
Diana’s Tip: Pour slowly so pudding sinks into holes.
What to Watch For: Work quickly before the pudding sets.
Step 4: Chill the Cake
Refrigerate for at least 2 hours.
Diana’s Tip: Cover with plastic wrap to prevent fridge smells from sneaking in.
Step 5: Make the Ganache
Heat cream until simmering, pour over chocolate chips, add salt, and stir until glossy.
Diana’s Tip: Let it cool 5 minutes before spreading so it doesn’t melt the pudding.
Step 6: Finish and Serve
Spread ganache over chilled cake. Slice and serve!
Diana’s Tip: Wipe the knife between slices for clean layers.
Why I Feel Good About Serving This
Here’s the nutrition breakdown per slice (12 servings):
- Calories: 320
- Net Carbs: 45g
- Protein: 5g
- Fat: 14g
- Fiber: 1g
The bottom line? It’s indulgent, but worth every bite. My kids think it’s the fanciest cake I make, and my husband calls it “birthday cake in disguise.”
For my lighter friends: I’ve used sugar-free pudding mix — it worked fine, just less rich.
Making This Even Better for You
For Lower Sugar: Use sugar-free pudding and dark chocolate.
For Dairy-Free: Almond milk for pudding + coconut cream for ganache. My vegan friend loved it.
To Boost Protein: Add a scoop of vanilla protein powder to the pudding. My husband didn’t notice, and it kept him full longer.
How I Love to Serve This
For Birthdays: I write names on top with melted white chocolate — the kids love it.
When Entertaining: I cut into neat squares, stack them on a platter, and dust with cocoa powder. Instant elegance.
Seasonal Twist: In fall, I sprinkle cinnamon into the pudding. At Christmas, I top with crushed peppermint.
My Go-To Combinations: Coffee for me, milk for the kids, and my husband insists it pairs best with a scoop of vanilla ice cream.
Learn from My Kitchen Disasters
Mistake #1: Pouring pudding that was already too set.
- Lesson: It didn’t sink into the holes.
- Fix: Pour immediately after whisking.
Mistake #2: Overheating chocolate.
- Lesson: Burnt chocolate ganache smells awful.
- Fix: Always pour hot cream over chips, never microwave chocolate directly.
Mistake #3: Not chilling long enough.
- Lesson: The pudding ran out when I sliced.
- Fix: Minimum 2 hours in the fridge.
Meal Prep Magic with This Cake
Short-Term Storage: Keep covered in the fridge. Stays fresh for 3 days.
Freezer-Friendly: Freeze unfrosted cake base, then thaw and add pudding and ganache later.
My Sunday Prep Routine: I bake the cake on Sunday, fill with pudding, and frost Monday. Dessert for the week!
Reheating Like a Pro: None needed — this cake is best cold.
Why This Recipe Earned a Permanent Spot in My Kitchen
Here’s why this Boston cream poke cake is here to stay:
- Fluffy, creamy, and chocolatey all in one bite.
- Easier than making a full Boston cream pie.
- Always wows guests.
- Brings back bakery nostalgia — without leaving home.
Every time I serve it, I remember my grandmother’s advice: try before you judge. Poking holes in a cake felt wrong — but it turned out so right.
I’m telling you, once you try this homemade Boston cream poke cake, it’ll become your new favorite potluck dessert.
Ready to make it? Share your photos on Facebook (Cooking with Diana) or tag me on Pinterest (@DianaRecipes). And if you love this, don’t miss my eclair cake recipe — it’s the no-bake cousin of this classic!
Your Questions Answered
Q: Can I use chocolate cake mix?
A: You can, but then it won’t taste like a true Boston cream — still delicious, though!
Q: Can I make this ahead?
A: Yes! It actually tastes better the next day as the flavors meld.
Q: Can I freeze the whole cake?
A: I don’t recommend it — the pudding doesn’t thaw well. Freeze just the cake base instead.
Q: Can I use homemade custard?
A: Absolutely. It takes longer, but the flavor is amazing.
Q: Can I make mini versions?
A: Yes! Bake cupcakes, poke holes, fill with pudding, and drizzle with ganache.
Q: Is this gluten-free?
A: With a GF cake mix, yes! I’ve tested it myself.
Q: Can I reduce the chocolate glaze?
A: Of course — use half the ganache if you prefer a lighter topping.

